Majd Sawaf
Downloading & Installing Kali Purple
Head to kali.org in your preferred browser.

Scroll down to Kali Purple section and click download.

Open up your VMware application. I use VMware Player. Select Create a New Virtual Machine.
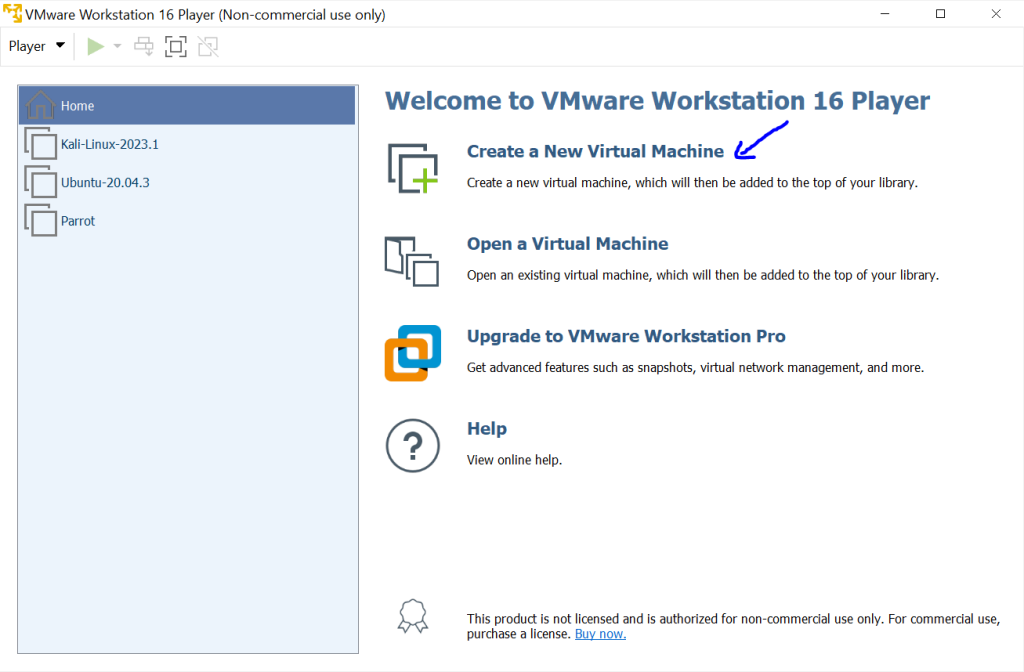
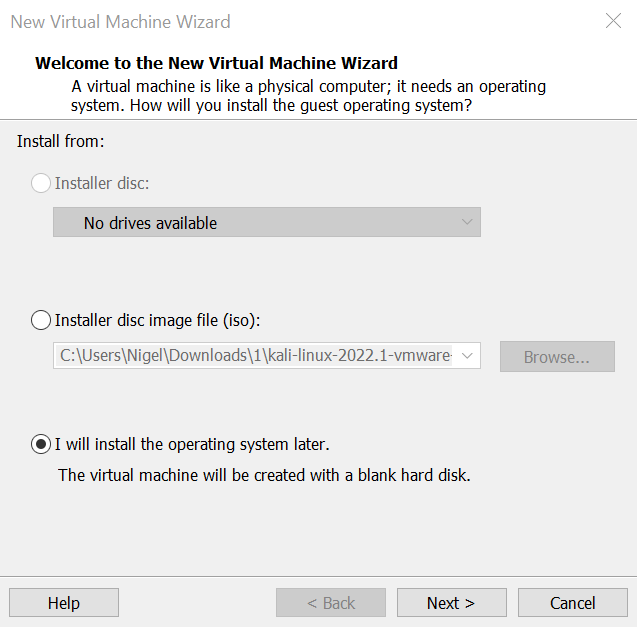
Leave this wizard window as default and click next.
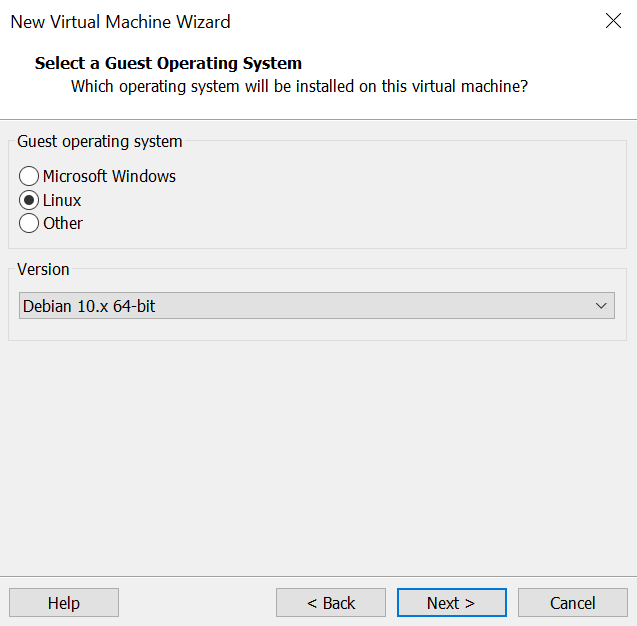
Kali is a Debian distribution and in this demonstration I downloaded 64-bit version. Therefore leave the default setting and click next.
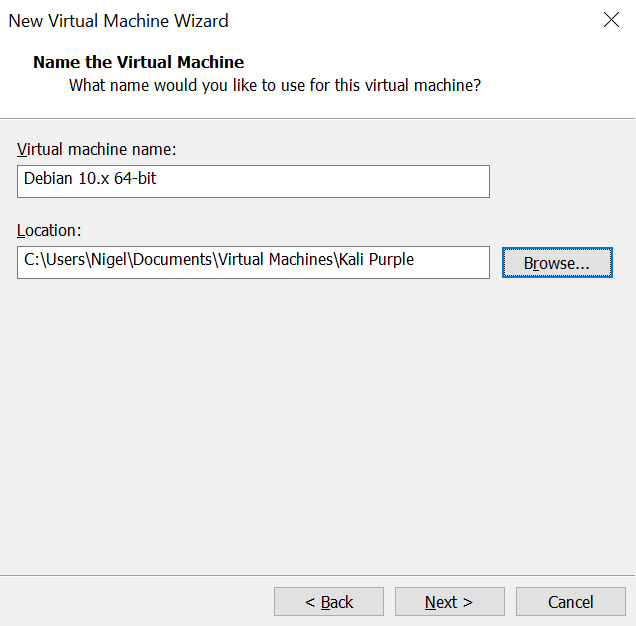
Under Virtual Machine Name write what you want to name the virtual machine, I’m going to name mine Kali Purple. Also under Location choose where you want to install it.
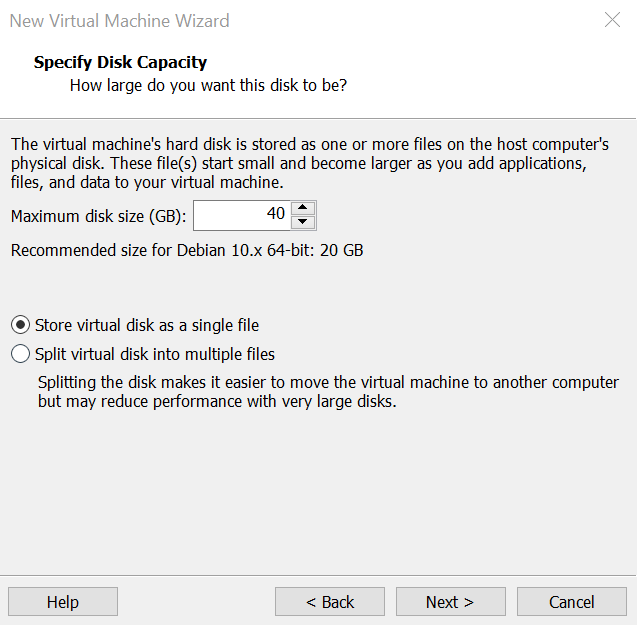
Choose how much disk space you want to give your virtual machine, the recommended size is 30-40. In this demonstration I’ll be giving mine 40GB. Also choose Store virtual disk as a single file and click next.
In the following window choose Customize Hardware as you want to customize how much RAM you give your virtual machine and how much CPU.
Choose how much RAM you want depending on the hardware resources of your computer. In this demonstration I’ll give mine 2GB. Also for CPU I’ll choose 3, 3 is good for it to run.

When you downloaded a copy of Kali as shown above, Browse to where the ISO image file is.
You can customize more things if you like, for this demonstration I will only be customizing the Hard Disk, Memory and Processors.

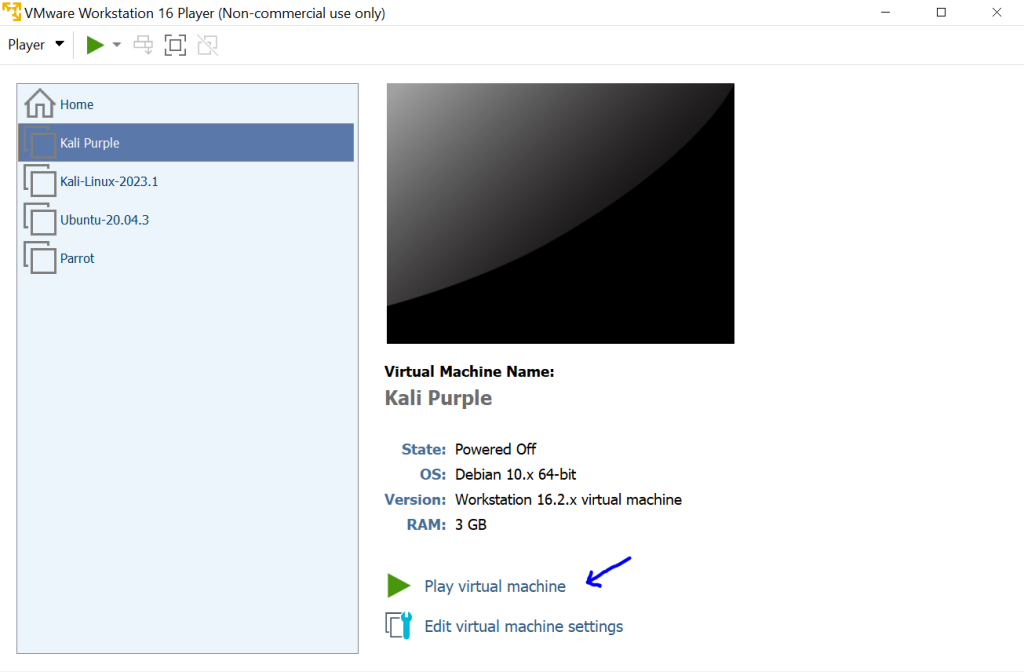
Your virtual machine has been created. It’s time to install it by clicking on the Play virtual machine button.
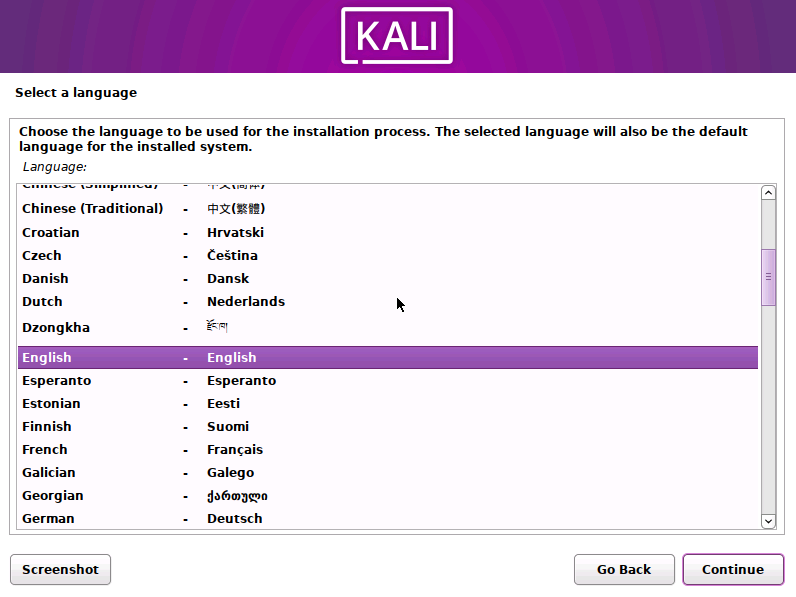
Select your preferred language and proceed by clicking the “Continue” button.
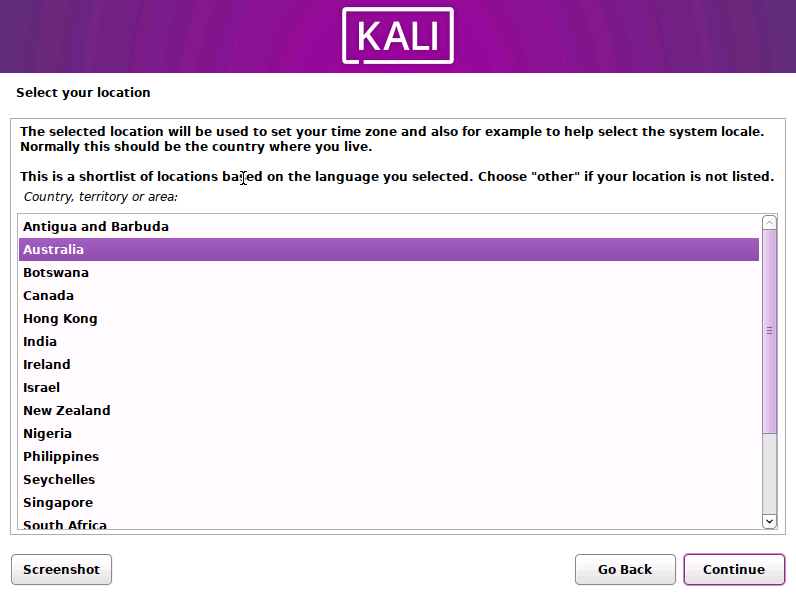
Select your location and click “Continue” to proceed.
Select your preferred keyboard and click “Continue” to proceed.
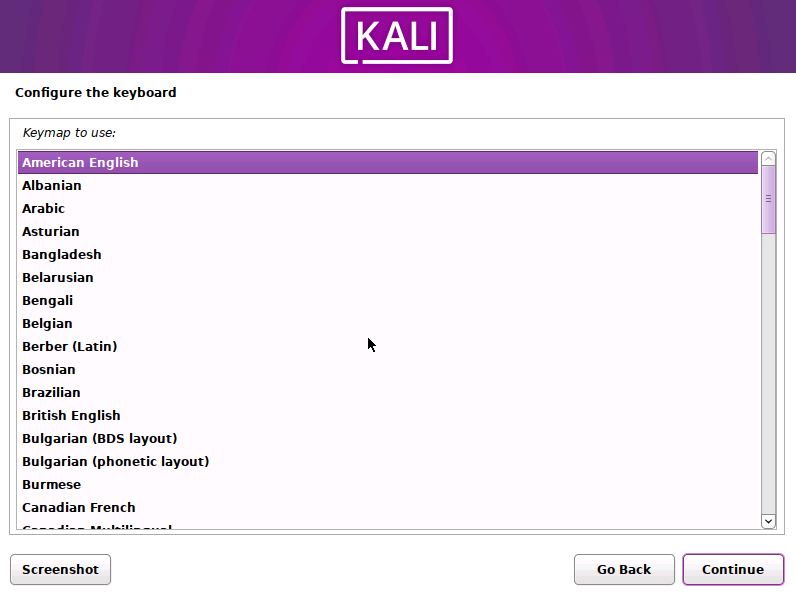
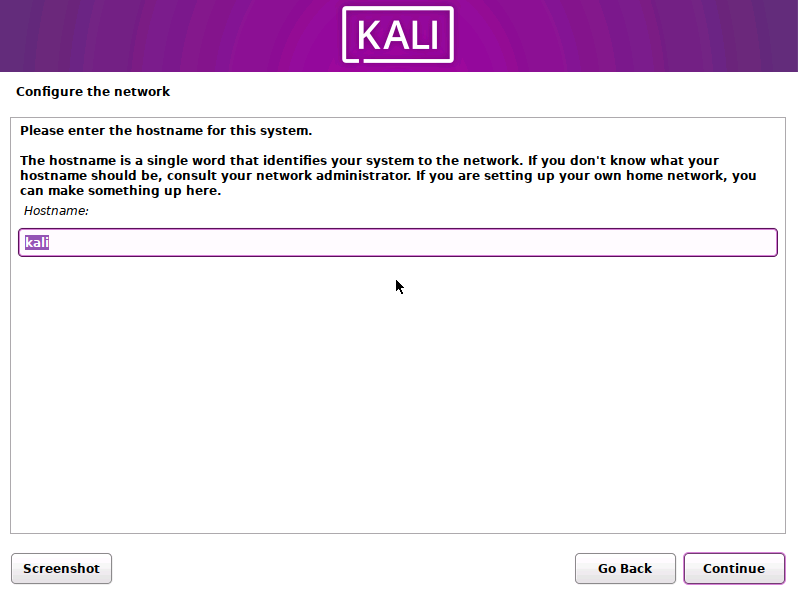
Enter your preferred hostname for the system and click “Continue” to proceed.
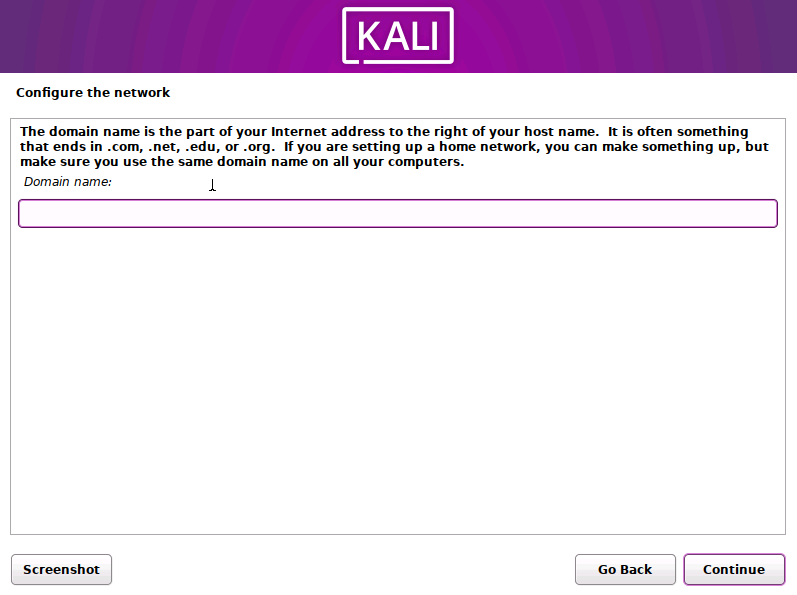
Enter your domain name if you have one and click “Continue” to proceed. I don’t have a domain name so I’m going to leave it blank for this demonstration.
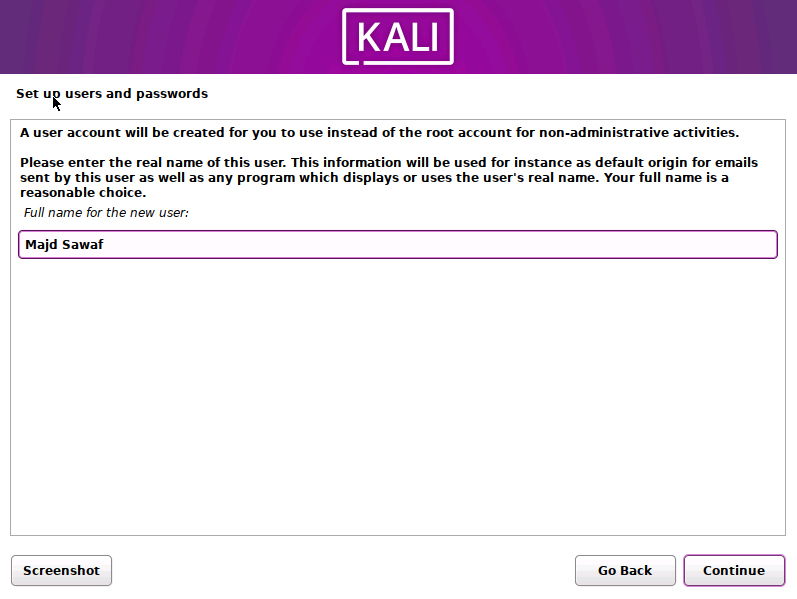
Enter the full name of the user and click “Continue” to proceed.
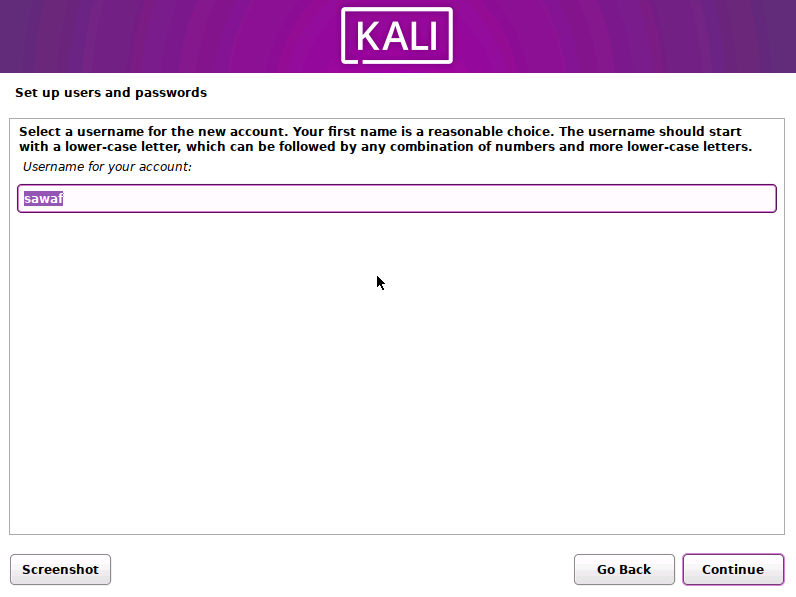
Enter a username for the account and click “Continue” to proceed.
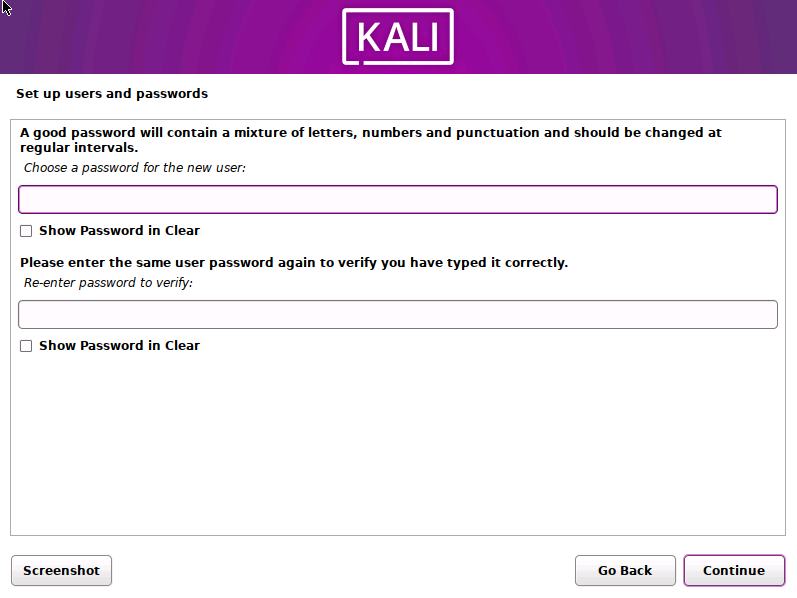
Enter a login password for the user and click “Continue” to proceed.
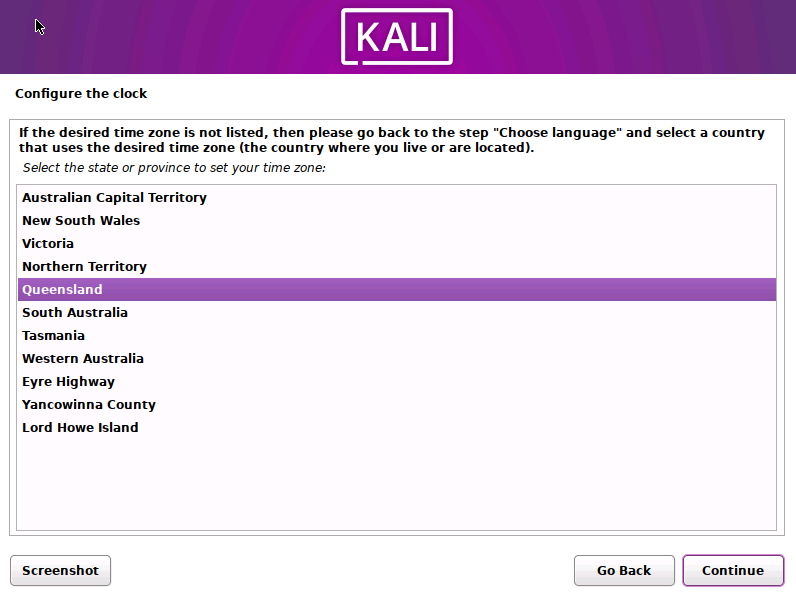
Configure the clock by selecting the state or territory that you are in and click “Continue” to proceed.
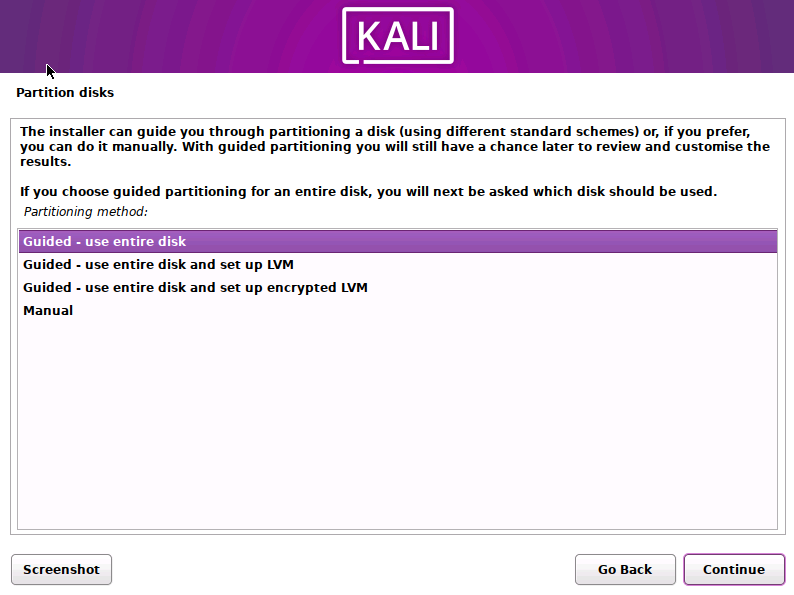
With partitioning leave the default option of “use entire disk”.
Click “Continue” to proceed.
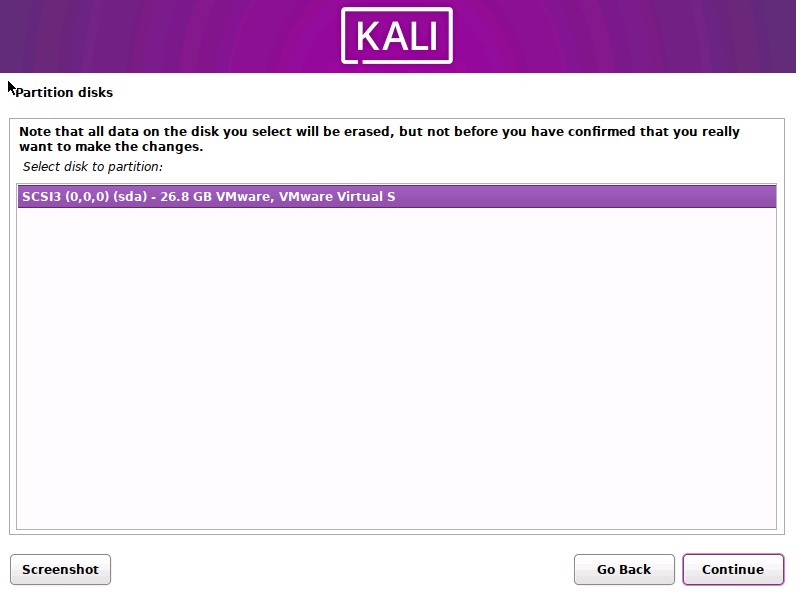
Leave the default option which is recommended. Click “Continue” to proceed.
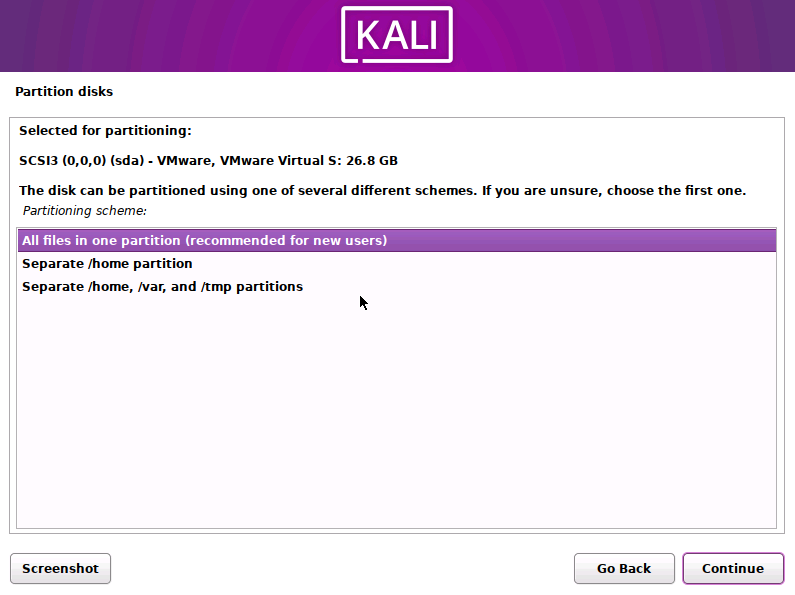
Click “Continue” to proceed.
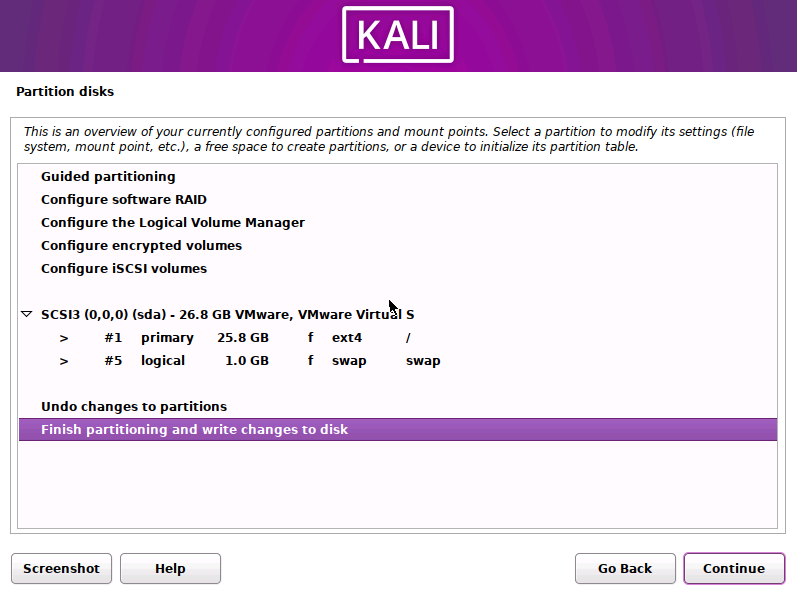
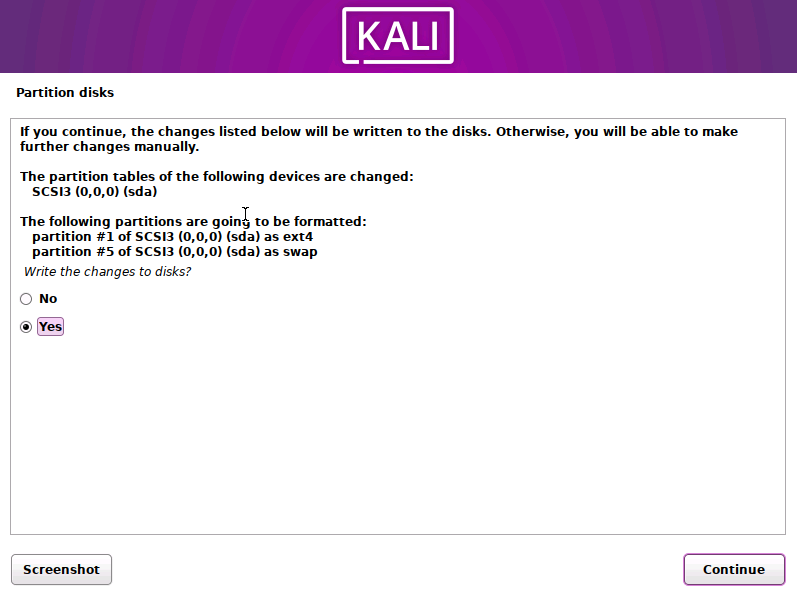
Select “Yes” to write changes to disk and click “Continue” to proceed.
Select “Yes” to install the GRUB boot loader and click “Continue” to proceed.
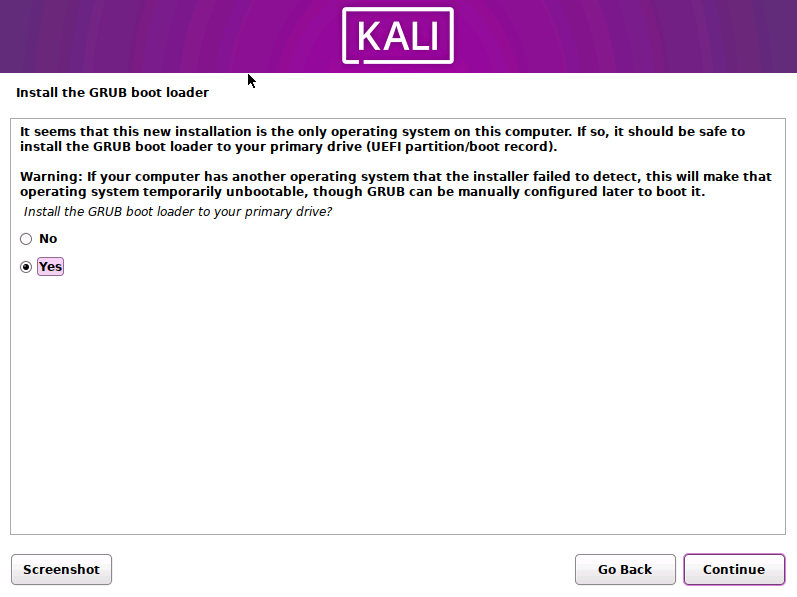
Click “Continue” to proceed.
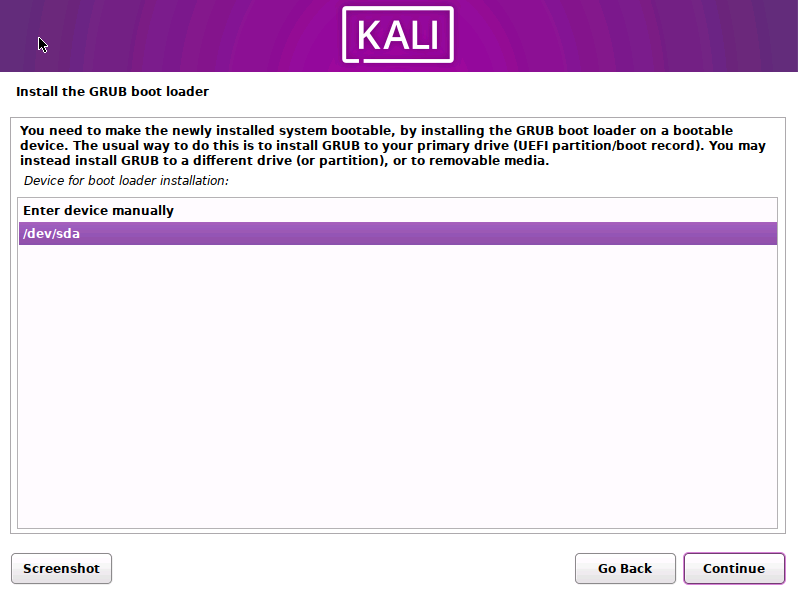
Click “Continue” to reboot to finish installation.
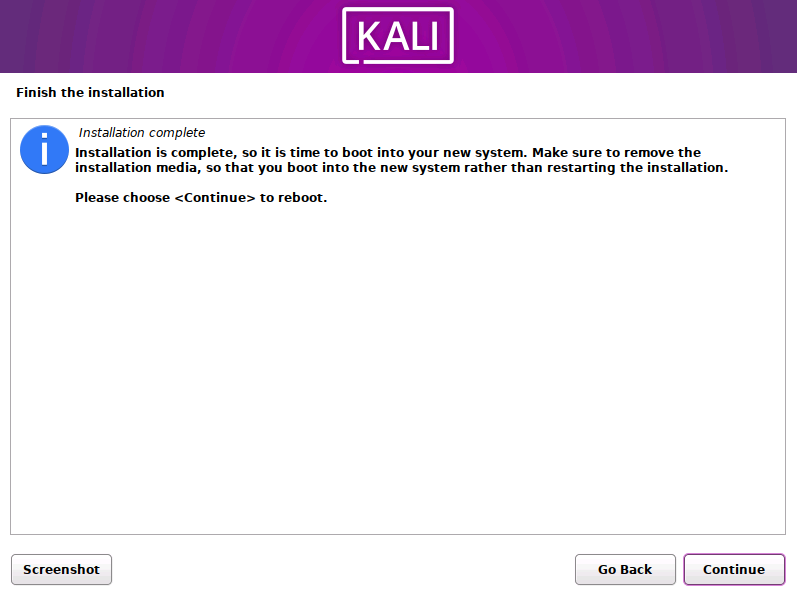
Once the installation is finished login with the user you created.

And there you have it.
